Background
In previous couple of posts we saw how we can setup git repositories, install git client and maintain your codebase.
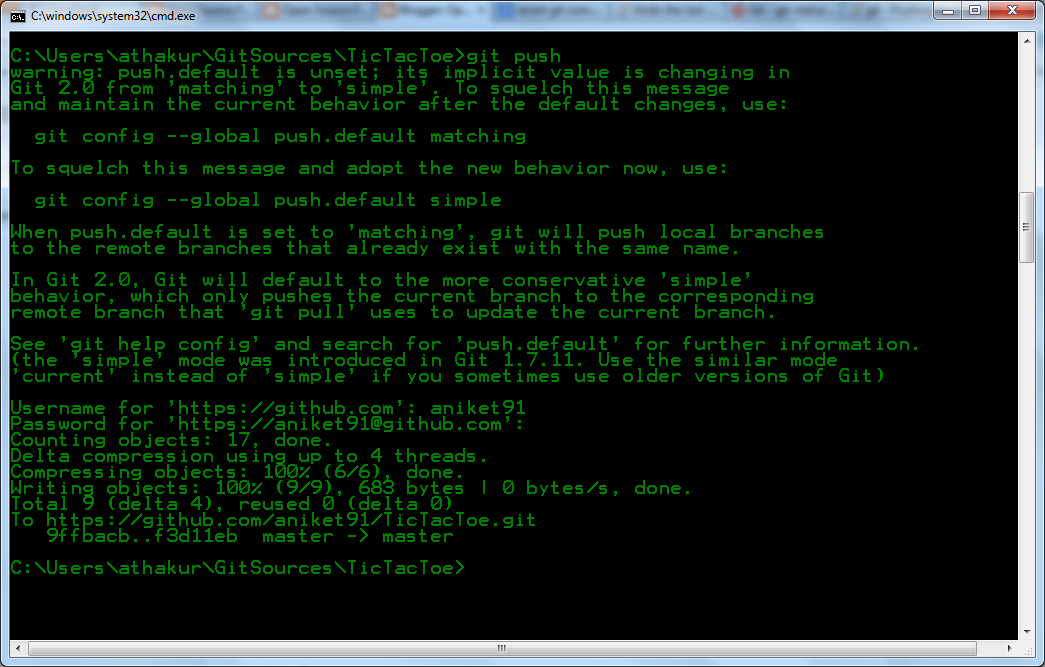
- Pushing existing local project to Github
- Installing Git in Ubuntu
- Install and use Git on Windows
- Installing Git on CentOS from sources
Installing and Using OpenGrok on Mac OS X
I am going to use Homebrew to do most of the setup here. If you are not aware of homebrew then you can read -
Couple of things you need to install before are -- A servlet container like GlassFish or Tomcat to run and deploy your grok server. I will use tomcat.
- Exuberant Ctags for analysis.
- brew update
- brew install tomcat
- brew install ctags

Next set environment variable as follows -
- export OPENGROK_TOMCAT_BASE=/usr/local/Cellar/tomcat/8.5.20/libexec
Download the latest opengrok binary from-
I am using opengrok-1.1-rc13.tar.gz.
Next go yo your opengrok bin directory. In my case it is -
- /Users/athakur/Documents/Softwares/opengrok-1.1-rc13/bin
- ./OpenGrok deploy

You can now access it via -

The error you see is ok since we have not provided our codebase source directory yet.
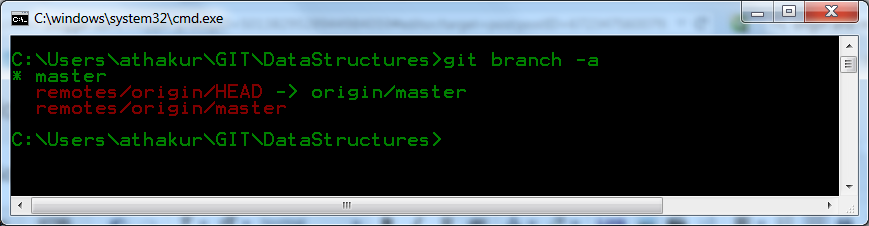
Noe lets add source directory. My code is in-
- ~/Documents/git/DataStructures
I am going to maintain all codebase references in
- ~/local_repos/src/

Now it's time to define your code directory that opengrok can understand. So define another environment variable -
- export OPENGROK_INSTANCE_BASE=/Users/athakur/local_repos
That's now lets index this content. To index it go to you opengrok bin directory and run -
- ./OpenGrok index.

You can see it automatically creates directory it needs. Just make sure it has appropriate permissions -

That's it you can refresh grok page and start searching code.

NOTE : For every update to your actual repository or for any new repository getting added you need to call ./Opengrok index to index it. You can probably write a cron job that does an automatic pull of your repository and runs index on it.