Goal
How can we run adb shell every time with root permissions. Procedure is shown below.
You can try this method, but be carefully as this allows any app to gain root access. You can say this may led to "Security Hole!"
Procedure
Make your suid binary insecure by typing the following commands.
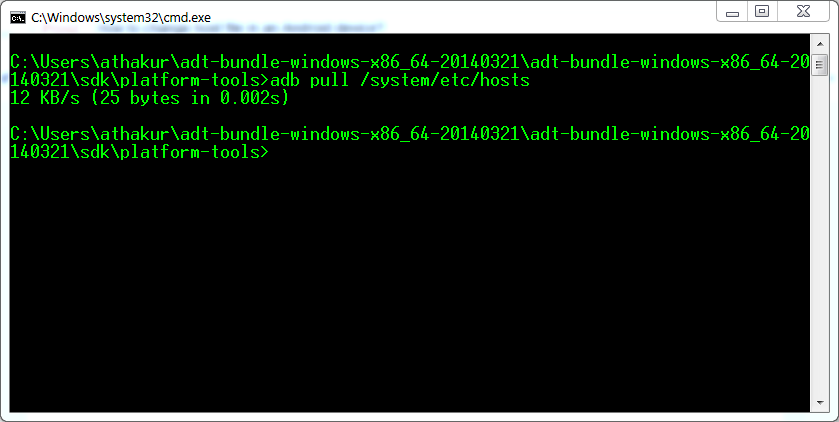
- Go to platform-tools directory inside sdk folder.
- Open command prompt in that directory and execute following commands.
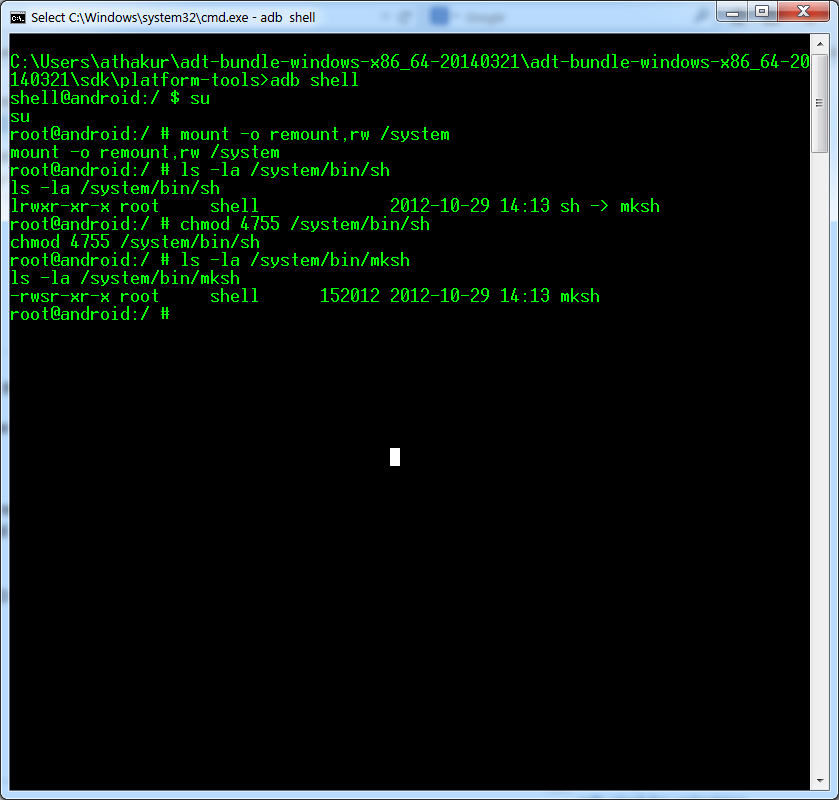
- adb shell
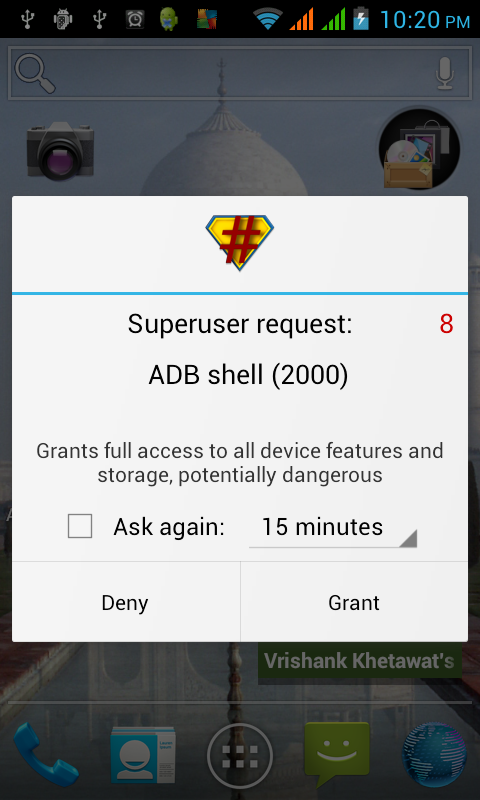
- su
User will be prompted to grant super user privileges to adb shell.

- mount -o remount,rw /system (or: adb remount)
- ls -la /system/bin/sh (Observer the output)
- chmod 4755 /system/bin/sh
- ls -la /system/bin/mksh (Again observe the output. Notice the SUID bit set)
- exit
Above steps will make your adb shell run as root every time. If you do not understand how SUID bit works in Linux (android has linux kernel after all) you can look at following post : Quick introduction to SUID: What you need to know .